Controlling proxenet
Every proxenet session creates a control socket. This socket is a Unix socket
(AF_UNIX) and by default by to /tmp/proxenet-control-socket. Proxenet can
be controlled 3 ways, via this socket.
Raw client
The most basic way to connect and interact with proxenet, is simply by using a
netcat (or equivalent) tool.
$ nc -U /tmp/proxenet-control-socket
This interface is extremely basic, but provides all the features configurable in
proxenet. However, the response will be formatted in JSON, which may not make
it easy to read and understand for a human.
So from here, you can either build your own client in the language of your choice, or use the Python client provided.
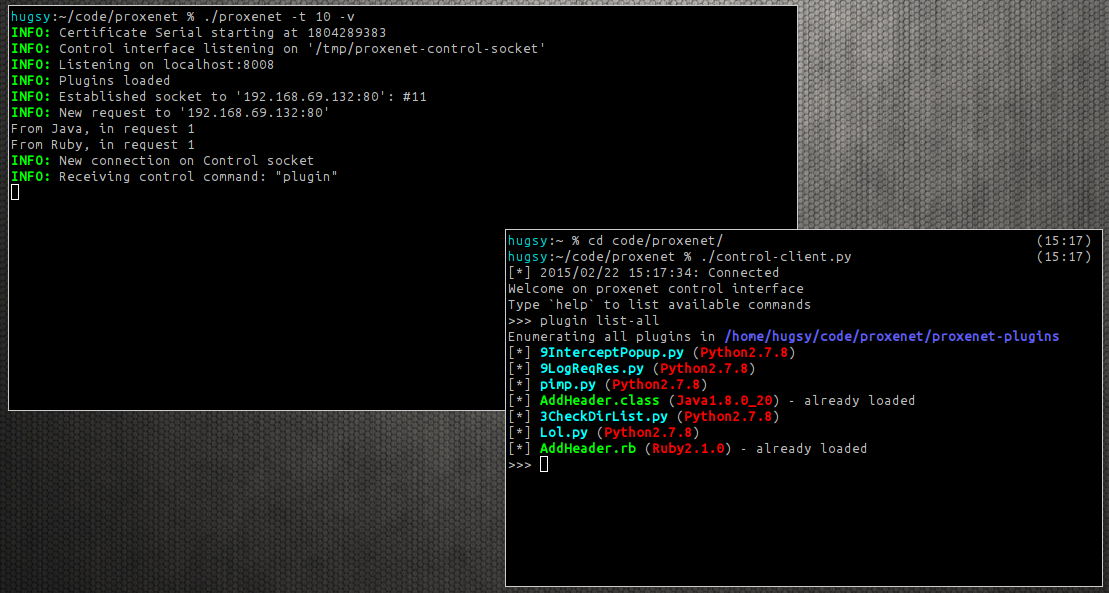
Python terminal client
The Python control client for proxenet does not require any dependencies,
as all the libraries used are built-in with any Python > 2.5.
$ python /path/to/proxenet/control-client.py
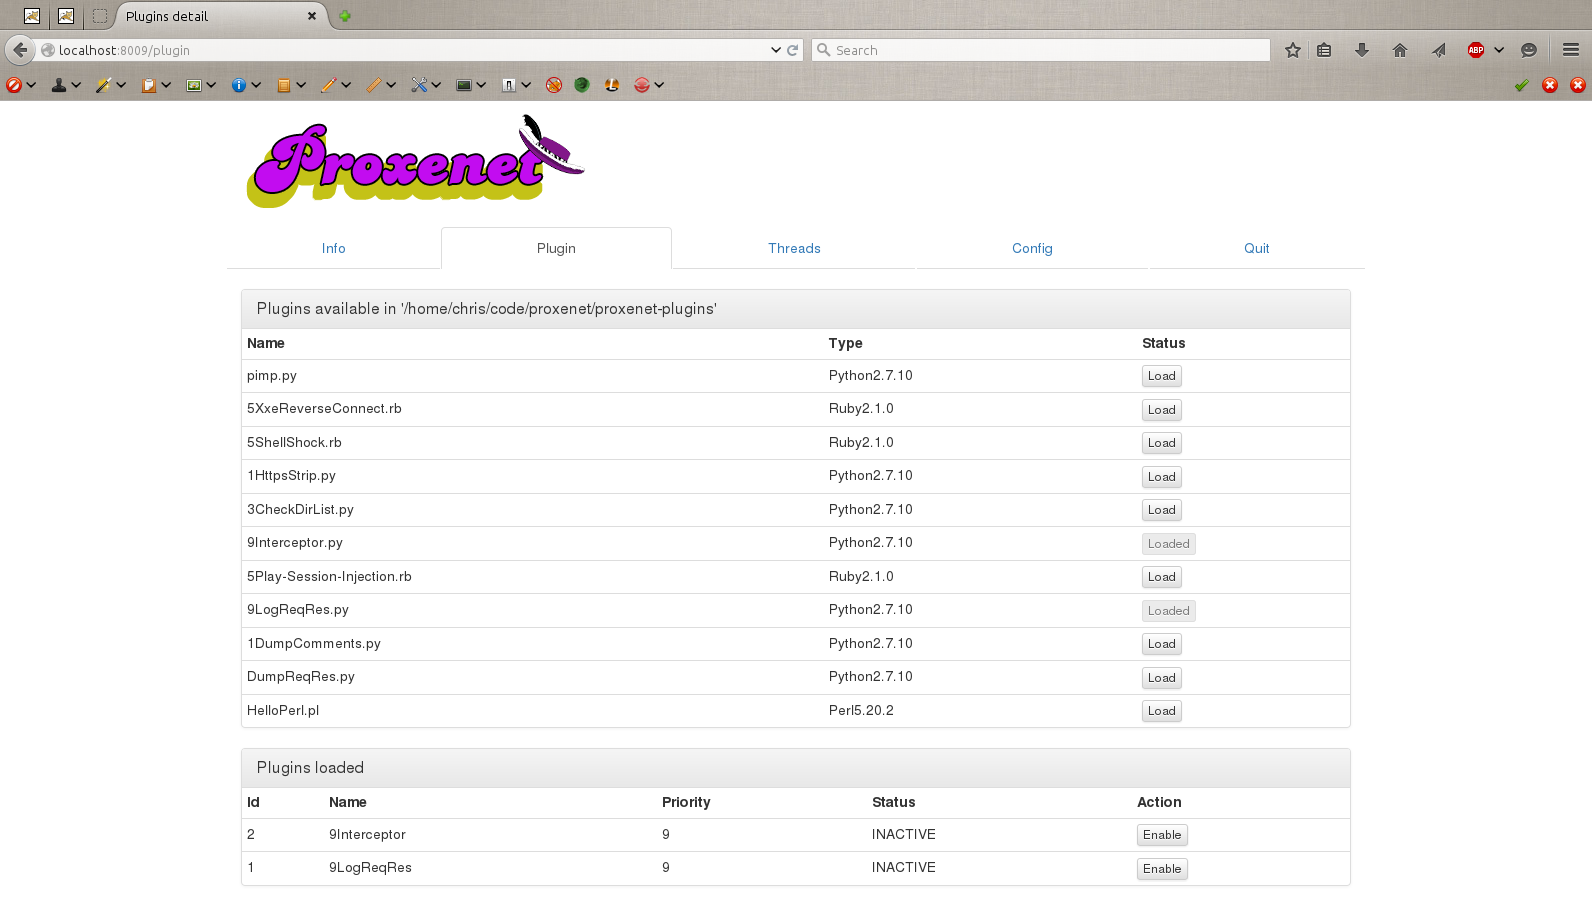
Web interface
The most user friendly way to interact with proxenet is through the web
interface. The Python control-web.py will spawn a small web HTTP service that
will allow you to do all the same manipulations that the Python terminal client
allowed you to, but in a more Web App pentester friendly way.
The only requirement for this to work is python-bottle, which can be easily
installed through pip:
# pip install bottle                 # for a system-wide installation
$ pip install --user bottle          # for a user specific installation
And then, simply run
$ python /path/to/proxenet/control-web.py
By default, the HTTP service listens on TCP port 8009.